Any astronomical application must use the observer's location to produce accurate calculations.
Deep-Sky Planner Mobile Edition (DSPME) is no different, and it provides 3 ways to set your observing location.
[Note: Screenshots for this post were made on a 9.7" iPad tablet with the Nightvision app style.]
Provided Locations
Over 400 locations ship with
DSPME. You can browse the list and choose a location to be your observing location. If you need a location that is not provided in the database, you can add it by importing a file, or you can add one manually.
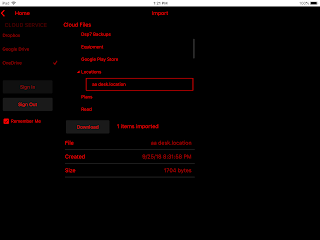
Import Locations
To import locations, you export locations to a file in
Deep-Sky Planner Desktop Edition and store it on a Cloud Service. Next, you import the file using the Import from Cloud feature. The locations file is downloaded to your device and the locations in the file are imported into the app's database. Locations with duplicate site names are not imported.
 |
| Import from Cloud: Adding locations by importing |
Enter Manually
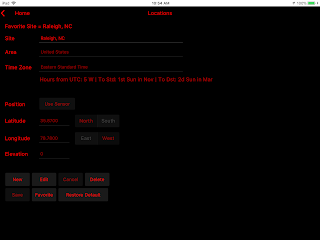
To add a location to the database manually, use the Locations
feature. You can add a New location, Edit an existing one or Delete an
existing one.
 |
| Add or Edit a new location |
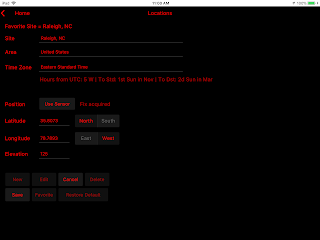
If your device has location services (network location or GPS), you can read location information from the sensor and save it to a location.
 |
| Use location services - network info or GPS |
If you need to revert to the original set of locations that shipped with
DSPME, you can Restore Default so that you
don't have to uninstall and reinstall the app to get a clean database.


No comments:
Post a Comment